Lighting is one of the most powerful tools for setting the tone in visual storytelling. In action scenes, whether it’s an explosive sci-fi battle, a superhero mid-leap, or a warrior charging through stormy fields, dynamic lighting creates drama, energy, and emotional intensity. This guide will walk you through how to master dynamic lighting in your digital art for compelling, cinematic action scenes.
Why Dynamic Lighting Matters in Action Scenes
- Captures Movement: Strong lighting contrasts highlight motion and energy.
- Sets the Mood: From fiery chaos to electric suspense, lighting determines emotion.
- Focuses the Viewer’s Eye: Dramatic lighting pinpoints your scene’s key moment.
- Enhances Storytelling: It shows time of day, location, and atmosphere in a single stroke.
1. Understand the Emotional Goal of the Scene
Before you begin painting, ask:
“What do I want the viewer to feel?”
Examples:
- Urgency or danger? → Use high-contrast lighting with harsh shadows.
- Heroic triumph? → Use strong backlighting with a warm tone.
- Surprise or suspense? → Try low-key lighting with obscured elements.
Dynamic lighting starts with intention. Knowing your emotional target shapes your choice of colors, light placement, and shadow intensity.
2. Use a Single Bold Light Source First
The easiest way to achieve dynamic lighting is to start with one strong light source:
- A spotlight
- Fire or explosion
- Flash of lightning
- Streetlamp or weapon glow
This builds clear contrast between light and dark, giving your artwork a sharp visual hierarchy. Once this base is solid, secondary light sources can be added for detail and complexity.
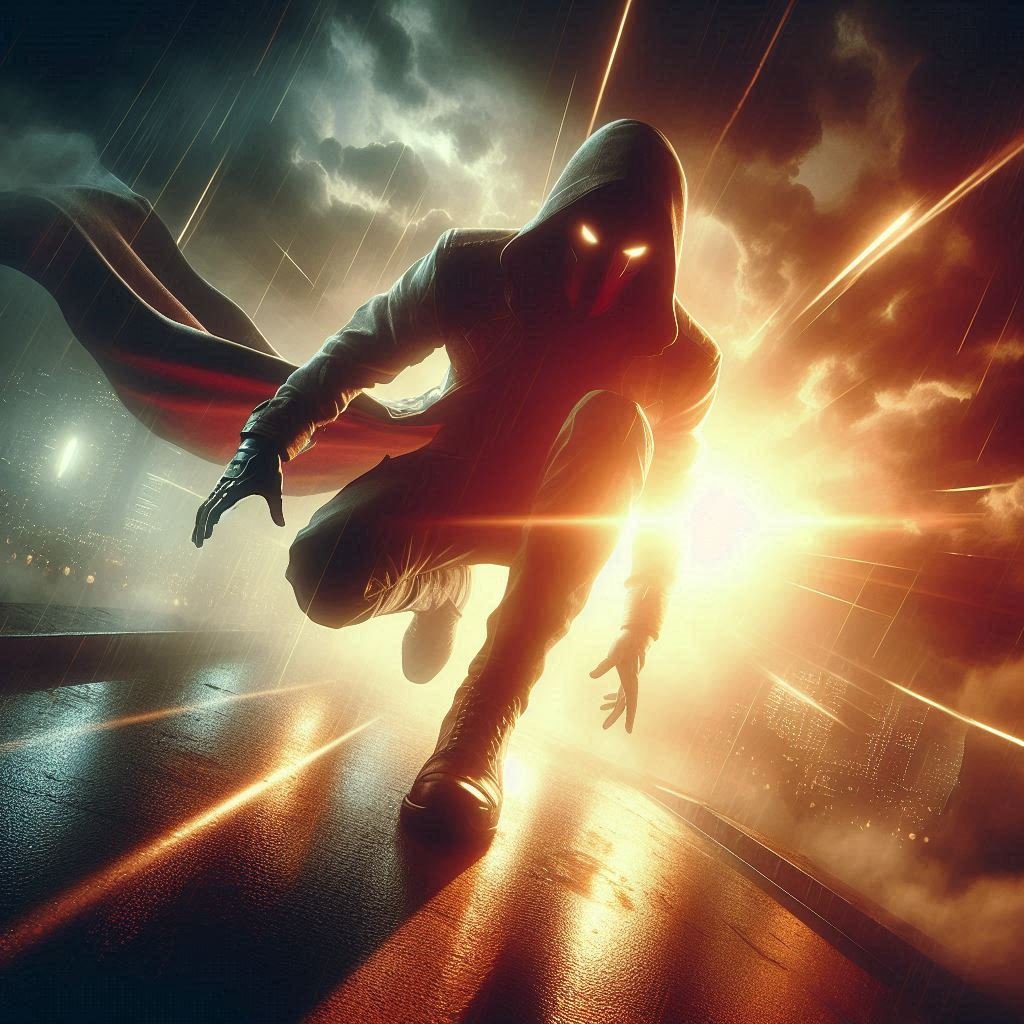
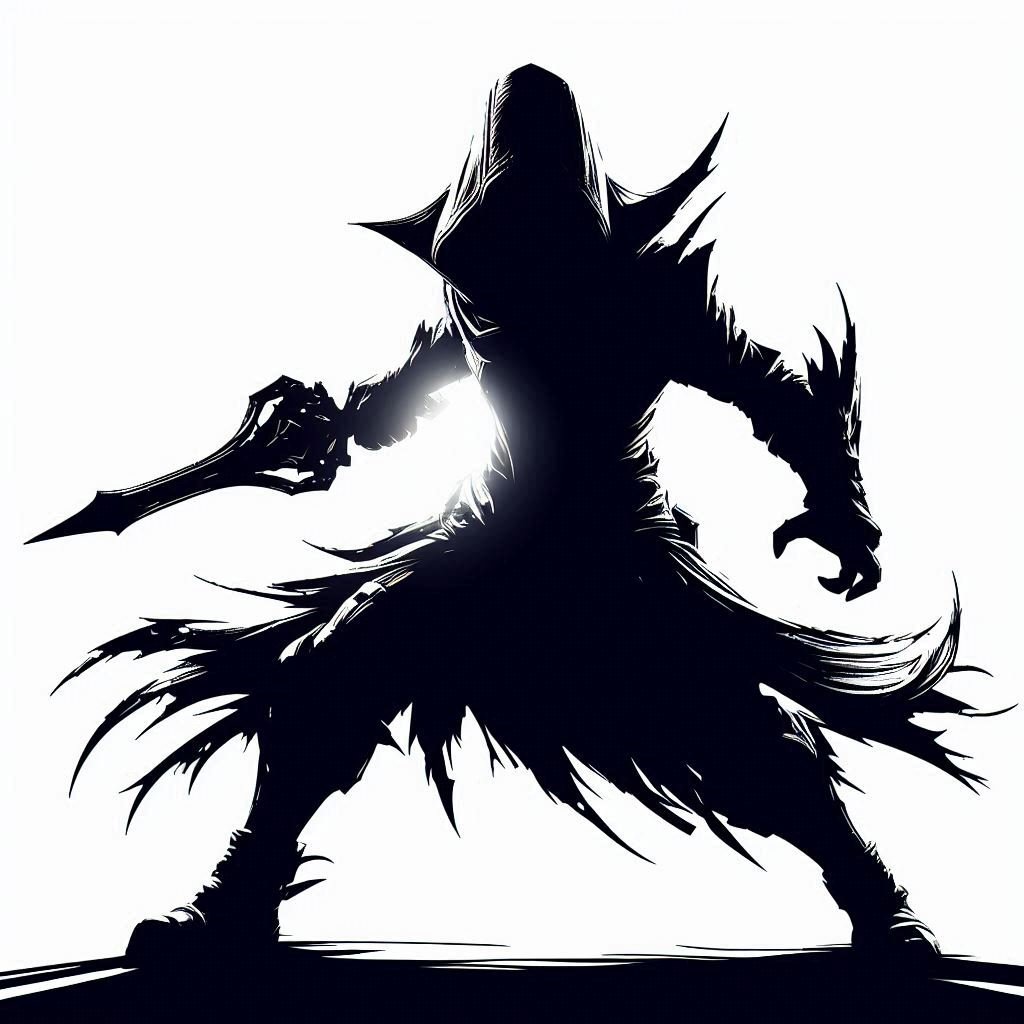
3. Leverage Hard Shadows and Silhouettes
Action scenes love contrast. The sharper your shadows, the more impact you create.
- Use hard shadows to define edges, especially around fists, weapons, or movement trails.
- Consider rim lighting: a thin line of light tracing the subject’s edge, common in cinematic lighting.
- Try using silhouettes to simplify and exaggerate action poses for maximum clarity.
These techniques are excellent for conveying action without cluttering the scene with too much detail.
4. Play with Angles and Light Direction
Experiment with:
- Top lighting (from above): Great for divine or powerful moments.
- Side lighting: Adds depth and reveals form, ideal for one-on-one combat.
- Backlighting: Emphasizes silhouette and tension.
- Low lighting (from below): Creates mystery or a horror vibe.
Tip: Skewing the light angle creates more dynamic compositions. Avoid front-facing lighting—it flattens the subject and weakens drama.
5. Use Color Temperature for Mood
Lighting isn’t just about brightness, it’s also about color.
| Emotion | Light Color | Shadow Color |
|---|---|---|
| Heat, danger | Warm (red/orange) | Cool (blue/violet) |
| Night tension | Cool (blue) | Warm (orange) |
| Supernatural | Green, purple | Deep blue, black |
Using complementary temperature contrasts can boost visual impact and draw the viewer’s attention exactly where you want it.
6. Add Environmental Light Interactions
Good action scenes don’t just light characters, they light the world:
- Dust in light rays
- Glowing embers
- Reflected lights on surfaces
- Light scatter through fog or smoke
- Weapon glow on nearby objects
This adds realism and immerses the viewer deeper into the action.
7. Blur and Bloom for Motion Energy
Post-processing effects can amplify lighting:
- Bloom: Adds a glowing edge to bright light sources.
- Light blur: Useful in fast movements or explosions.
- Chromatic aberration: Slight RGB split mimicking cinematic lenses.
These subtle effects help communicate motion, power, and speed in a way that static brushwork can’t.
8. Study Movie Stills and Action Games
Learn from the best:
- Analyze film stills (e.g., “Mad Max: Fury Road,” Marvel films, anime like “Attack on Titan”).
- Pause game cutscenes (e.g., “Ghost of Tsushima”, “God of War”) to observe how light shapes emotion and intensity.
Recreate lighting setups from these references for practice.
9. Practice with Simple Models
Start with basic 3D forms in a 3D tool like Blender or Clip Studio Paint’s figure tools. Apply lights and see how they behave before translating them to your illustration.
Or, pose a model in strong directional light and snap a photo as reference.
Bonus: Link Your Dynamic Lighting to Other Elements
Dynamic lighting works best when combined with:
- Strong poses (exaggerate the motion)
- Speed lines, debris, or particles
- Texture and reflective surfaces
- Mood-specific color grading (overlay layers or gradient maps)
Want to dive deeper? Check out these related guides:
FAQs: Dynamic Lighting in Action Scenes
Q: How do I keep lighting consistent in an action scene?
A: Sketch a lighting plan first. Identify your main light source and build everything around that anchor.
Q: Can I use more than one light source?
A: Yes, but keep the hierarchy clear. One should dominate; the others should support.
Q: How do I avoid making the scene too chaotic?
A: Use light to guide focus. Keep your focal point the most lit or highest contrast area.
Q: What’s the best software for dynamic lighting?
A: Photoshop, Procreate, Clip Studio Paint, and Krita all support lighting effects. 3D tools like Blender are great for reference lighting.
Final Thoughts
Dynamic lighting is the key to making action scenes jump off the screen. It adds power, clarity, and emotion. By understanding how to direct light with purpose through contrast, angle, color, and environment, you’ll create digital illustrations that are cinematic and unforgettable.


2 Comments on “Unleashing Impact: Mastering Dynamic Lighting for Action Scenes in Digital Art 2026”